On today’s Instagram post, we broke down one of the most common questions we get:
“How do you clean suede or nubuck without damaging it?”
Suede and nubuck are some of the most delicate materials to work on — and the wrong approach can leave the nap matted, discolored, or even permanently stained. Below is the exact method we use at Revive Kicks, along with a few pro tips you can use to get it right.
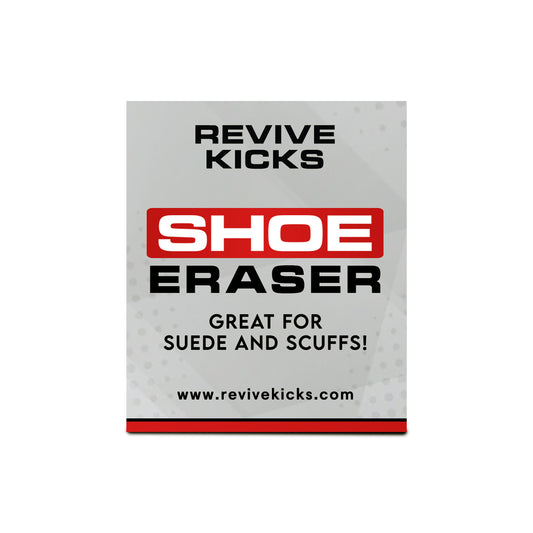
🧽 Step 1: Dry Cleaning With the Shoe Eraser
We always start by restoring the nap and lifting superficial dirt and oil with our Revive Kicks Shoe Eraser. This step is completely dry — no water, no cleaner yet — and gently lifts grime from the fibers while preserving the texture.
💡 Pro Tip: Prep With an Exacto Knife
Before even starting, inspect the suede for any dried-on residue (like gum or sticky dirt). Gently scrape it away with a sharp exacto knife — this prevents you from grinding that debris deeper into the material during cleaning.
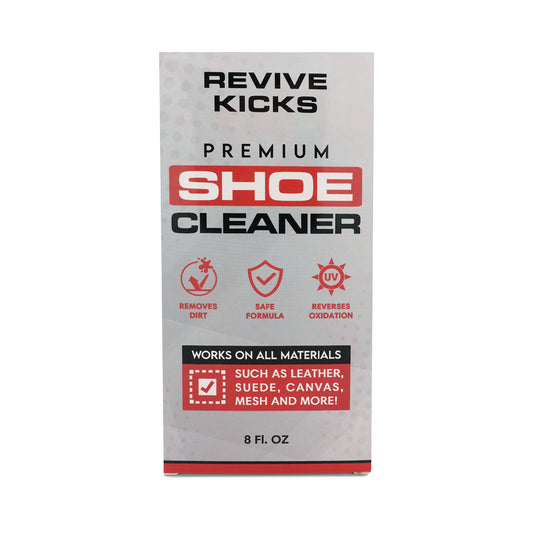
🧴 Step 2: Deep Clean & Even Out Discoloration
After the nap is restored and surface dirt is gone, it’s time for a deep clean. We use our Revive Kicks Shoe Cleaner — but here’s the trick:
✅ Pour it into a spray bottle.
✅ Lightly mist the entire shoe, evenly.
This ensures even coverage without oversaturating the material, which helps you avoid water damage, blotchy color loss, or stiffened suede when it dries. Work the cleaner into the suede gently, then let it air dry.
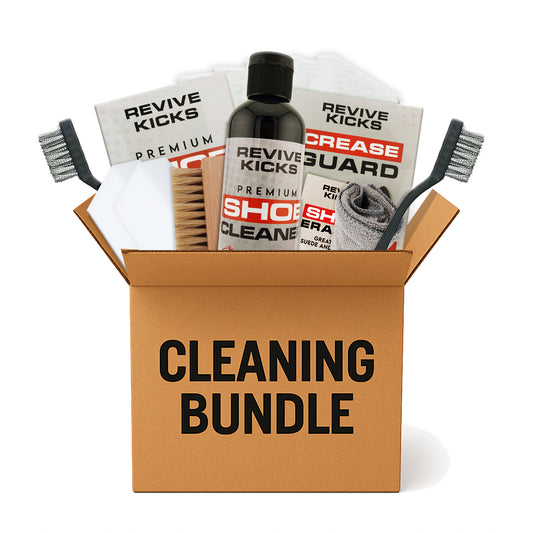
🔗 Shop the Products We Used
Everything featured in today’s tutorial is available online and in-store at Revive Kicks:
👉 Shop All Products
✅ Revive Kicks Shoe Eraser
✅ Revive Kicks Shoe Cleaner
📆 Come Back Daily for More Tips
We’re breaking down our Instagram posts here on the blog every day, giving you the full story behind the techniques and products we use. Check back tomorrow for another tip to keep your sneakers looking their best.
Stay fresh,
Revive Kicks Team