Not every shoe that comes through our shop just needs a quick wipe down. Sometimes we get pairs that most people would throw straight into the trash.
This recent pair of white On Cloud running shoes was one of those cases.
The owner had gotten sick and thrown up all over the shoes, leaving behind heavy staining, odor, bacteria, and grime deep inside the material. White mesh sneakers are already difficult to clean because contaminants can become trapped inside the fibers. When bodily fluids are involved, the process requires much more than a basic scrub.
Step 1: Breaking Down the Contamination
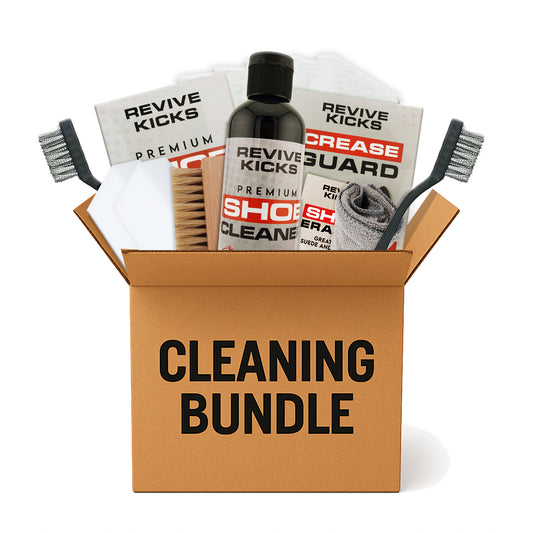
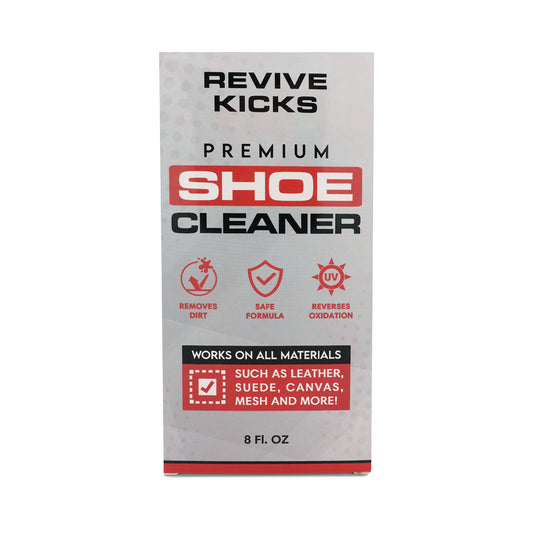
We started with our signature Revive Kicks cleaning solution from our Complete Cleaning Bundle.
Using our cleaner, we thoroughly scrubbed the entire shoe to break down the vomit residue, dirt, oils, and built-up grime that had bonded to the material.
For anyone looking to build a professional-level cleaning setup at home, our Complete Cleaning Bundle includes the products and brushes we use daily:
Shop the Complete Cleaning Bundle:
Revive Kicks Complete Cleaning Bundle
Step 2: Deep Cleaning the Mesh Material
Once the surface contamination was removed, we moved on to a more aggressive cleaning process.
A medium scrub brush attached to a drill was used to agitate the material deeper than hand brushing alone. This allows us to loosen contaminants trapped within the mesh fibers while reducing the amount of manual scrubbing required.
We also incorporated a mesh scrub attachment designed specifically for cleaning delicate athletic materials without causing unnecessary wear.
This combination helps pull staining and contamination out from below the surface rather than simply cleaning the top layer.
Step 3: Steam, Air, and Extraction
After the deep scrubbing phase, we used several specialty tools to target areas traditional brushes can't reach.
Steam Cleaning
Steam helps loosen remaining residue while sanitizing surfaces and lifting contaminants trapped in seams, stitching, and textured materials.
Air Compressor
An air compressor was then used to force moisture and debris out of the material, helping prevent residue from drying back into the shoe.
Spot Cleaning Gun
Finally, we used a spot cleaning gun to flush remaining contaminants from deep within the mesh and other hard-to-reach areas.
This extraction process is one of the most effective ways to remove hidden contamination that often causes lingering stains and odors after a traditional cleaning.
You can find many of the professional tools we use here:
View Our Recommended Professional Cleaning Tools:
Revive Kicks Other Products & Tools
Step 4: Eliminating Odors and Bacteria
Cleaning visible stains is only half the battle when dealing with biohazard contamination.
Once the shoes were fully cleaned, we treated them with both deodorizer and disinfectant to neutralize odors and reduce bacteria that may have remained after the washing process.
This step helps ensure the shoes not only look clean but smell fresh as well.
Step 5: UV Drying and Whitening
To finish the restoration, the shoes were placed under UV light while drying.
UV exposure helps further reduce bacteria while also helping maintain the bright appearance of white materials. Combined with proper airflow and moisture removal, this helps prevent discoloration and odor from returning after the cleaning is complete.
The Final Result
What started as a pair of white On Clouds covered in vomit was transformed into a clean, wearable pair again.
While many people assume heavily contaminated shoes are beyond saving, the right combination of cleaners, brushes, extraction tools, disinfectants, and drying methods can often bring them back to life.
At Revive Kicks, we specialize in tackling the jobs most people won't touch—from everyday dirt and stains to severe contamination cases like this one.
Need your sneakers professionally cleaned or want to use the same products we trust every day?
Shop our Complete Cleaning Bundle:
Revive Kicks Complete Cleaning Bundle
Browse our recommended professional cleaning tools:
Other Products & Tools